Bang up a boomerang!
A simple boomerang that is safe to fly indoors can be made with balsa wood, a rubber band, some blutack and a matchstick.
The only tools that are required are some sandpaper and a sharp knife. A true-blue boomerang is boomerang-shaped because bent bits of wood are easy to find in outback Australia, but the aerodynamic and gyrodynamic efficiency of such a shape is not good. You need wide open spaces to fly them. Small cross-shaped boomerangs have such good gyroscopic and aerodynamic properties that they can fly indoors.
You will need:
- two bits of balsa wood, 200 x 25 x 3 mm approx;
- some sand paper (not too coarse);
- a match stick;
- some blutack;
- a small rubber band.
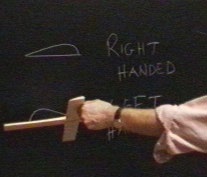
Figure 1: A right handed boomerang
Step 1:
Decide if you want a right- or left-handed boomerang. They're each as easy to throw with either hand. Instructions here are for right-handers. Use the mirror image of all constructions to make a left-hander.
Figure 2: Mark sanding lines
Step 2:
Mark the centre of the two pieces of balsa and draw two lines in pencil near one edge of each piece as shown (about 1/6 the width from one edge). These lines must never be touched with sand paper!
Figure 3: Sand to this section
Step 3:
With sandpaper wrapped around a sanding block (a ruler will do), create airfoil shapes as shown leaving the bottom absolutely flat. Use the edge of a plank of wood as a firm base to get a good angle on the trailing edge. Don't make the trailing edge too `sharp' as it will be easily damaged in flight. When you have finished sanding the four airfoils, the pencil lines should still be visible.
Figure 4: Fasten together
Step 4:
Carefully press a matchstick through the centre of the two wings and join them together. Secure with a rubber band as shown.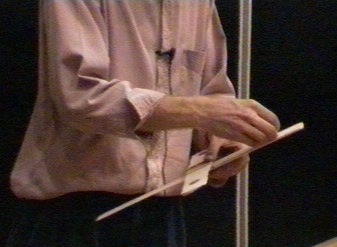
Figure 5: Add weights
Step 5:
Add four small blobs of blutack (each about the size of a pea) to the flat side of each wing at about 3/4 the radius from the centre. This should roughly double the weight of the boomerang. You are now ready for a test flight!The Test Flight
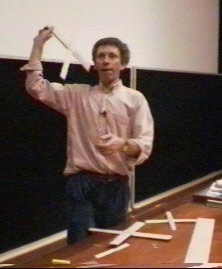
Figure 6:The test flight
Radius of Flight
The theory of flight for a boomerang suggests that the radius of the flight path $R$ is a boomerang constant because the lift coefficient $C_L$, the moment of inertia $J$ and the boomerang radius $a$ are all fixed: \begin{displaymath} R = \frac{4J}{\rho C_L\pi a^4} \end{displaymath} This result can be verified by throwing the boomerang at different speeds. Note that the path radius does not depend on the throw velocity. You can also try increasing the moment of inertia $J$ by moving the blutack further out along the wings. This should increase the flight radius.Flick of the Wrist
You will notice that good flight can only be obtained if the boomerang has just the right spin and just the right forward velocity. In fact the ratio of these two parameters is what counts and this comes from boomerang theory too. For a cross-shaped boomerang, we find that the `flick-of-the-wrist' needed is $a\omega =\sqrt{2}V.$ You can experiment with different values of velocity and spin to verify that this is true.About the author
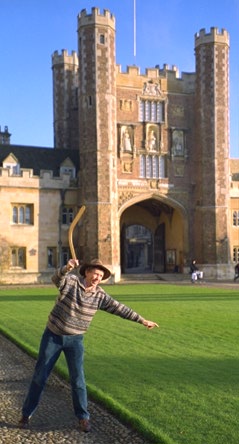
Hugh Hunt showing how a real Aussie throws a boomerang (mind those windows, Hugh!)
Dr. Hugh Hunt is a Lecturer in the Department of Engineering at Cambridge University, and a Fellow of Trinity College, where this photo was taken.
He hails from Melbourne and has an impressive collection of boomerangs, including one salvaged from somebody's kindling pile! You can find out more about boomerangs on his website.